
Navigation: Email > Send New Email
When sending an email, it is important to know who you are sending it to.
Follow the steps below to decide who you would like to send your email to.
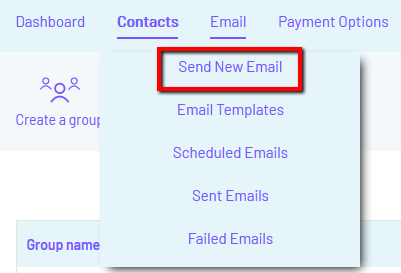
Step 1: First, hover over ‘Email’ and click ‘Send New Email’.
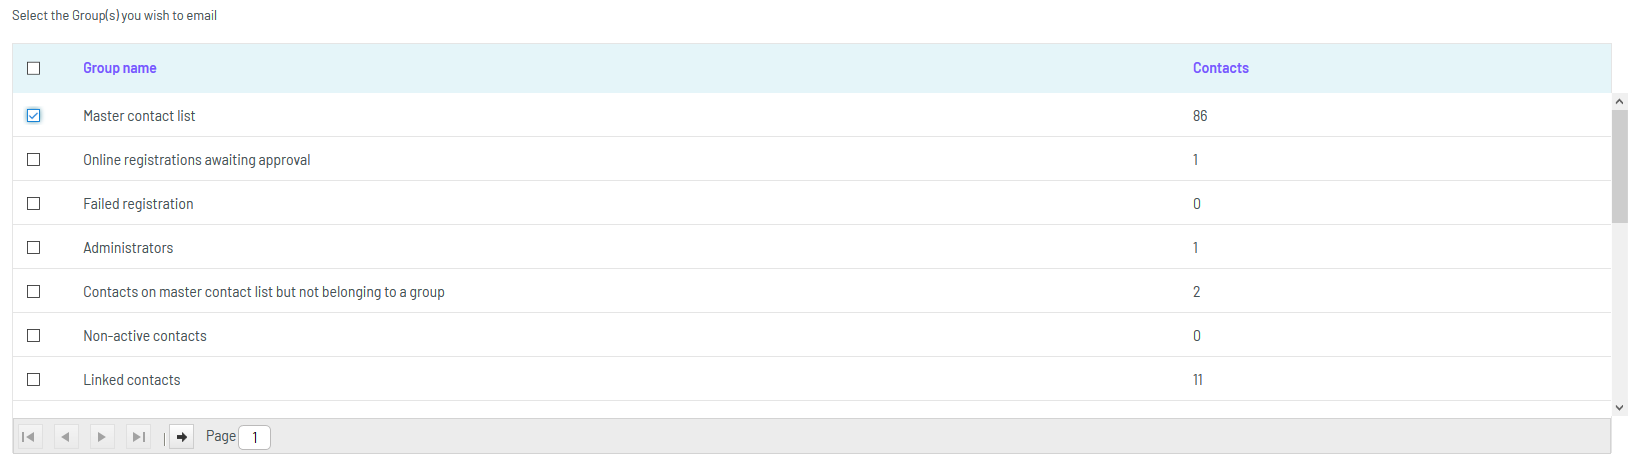
Step 2: Next, select via the tickboxes which group(s) you would like to send your email to. Once you have selected, click ‘Next’.
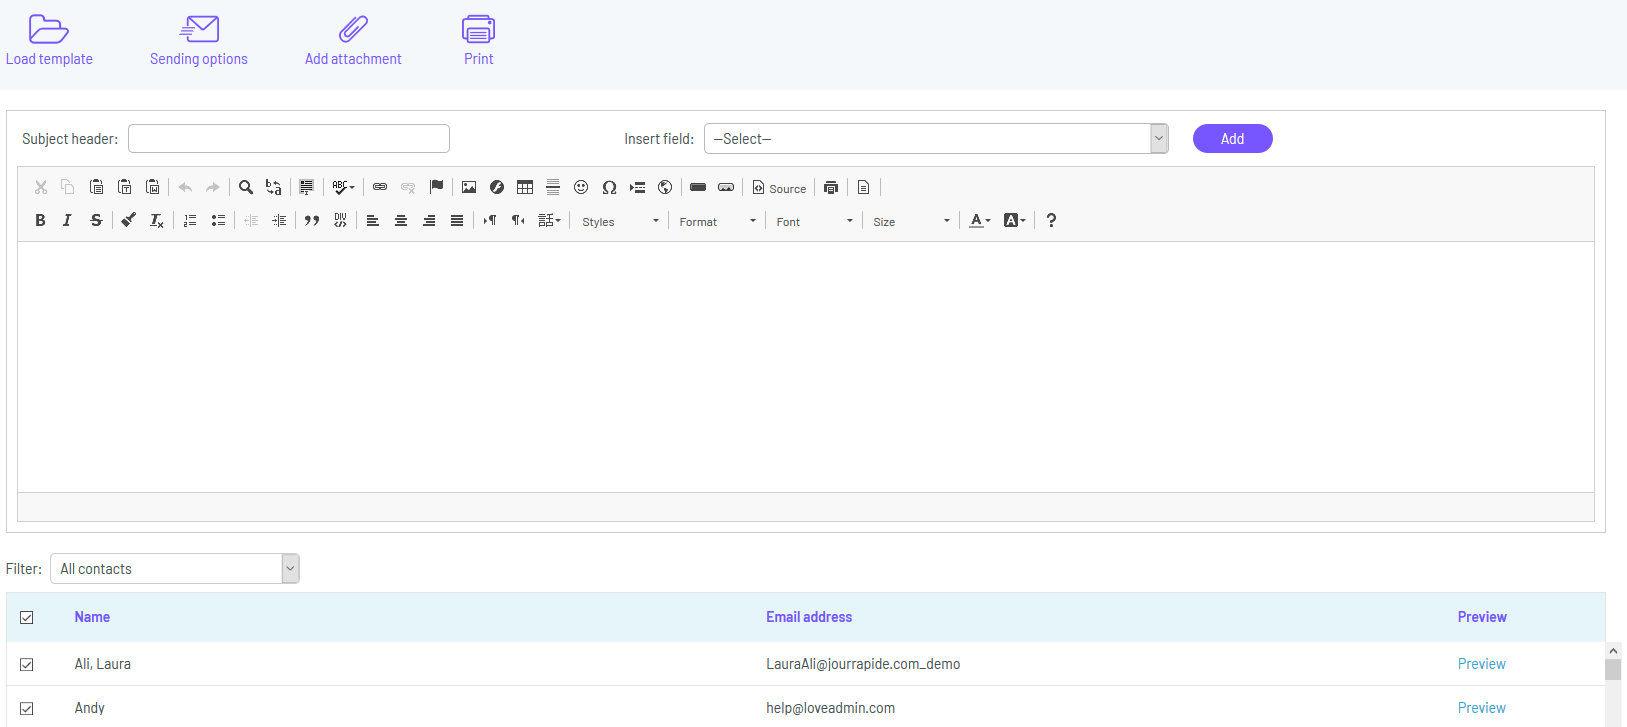
Step 3: Once you have clicked ‘Next’, you will be taken to the email building screen. Here, you can write and customise your email as well as decide which contacts will receive it.
To select which contacts will or will not receive the email you simply tick or untick the tickbox next to their name. If the box is ticked they will receive it and if it is not they will not – simple.
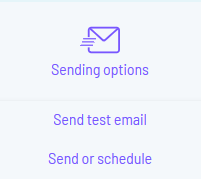
Step 4: When you are happy with your email and the contact it will be sent to, hover over ‘Sending options’ and click ‘Send or Schedule’.
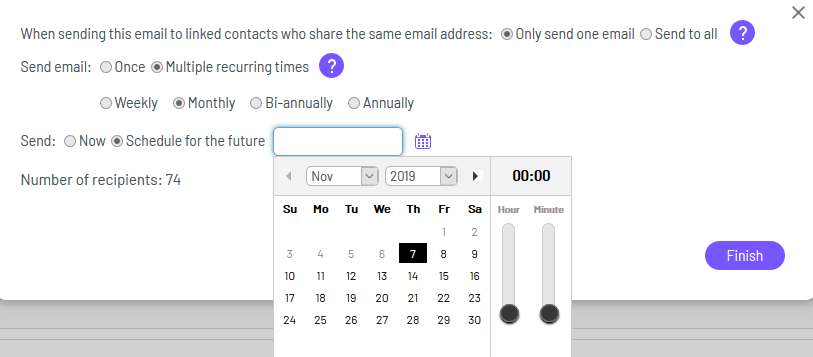
Step 5: A textbox will then appear presenting you with several options to select from:
Option 1 - When sending this email to linked contacts who share the same email address:
Here, you can select whether to send just one email or to send one email per contact to the same address. Typically, you will send only one email.
Option 2 – Send email:
You can select whether to send the email once or on a recurring basis. If you decide to send the email recurrently, you will have the option to send it ‘Weekly’, ‘Monthly’, ‘Bi-annually’ or ‘Annually’.
Option 3 – Send:
This is where you decide if you want to send your email immediately or whether you would like to schedule it for a later time / date.
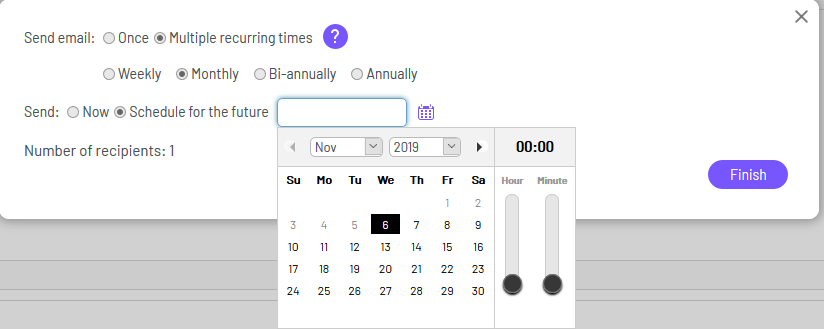
If you are scheduling your email for a later date / time, you will be presented with an interactive calendar and sliding timescale to set your date and/or time of sending.
Step 6: Once you have decided on the above options, click ‘Finish’ – your email will now be sent or scheduled for later successfully to the recipients you decided.
Alternatively, there may be times when you want to email an individual contact. To do this, follow the steps below:
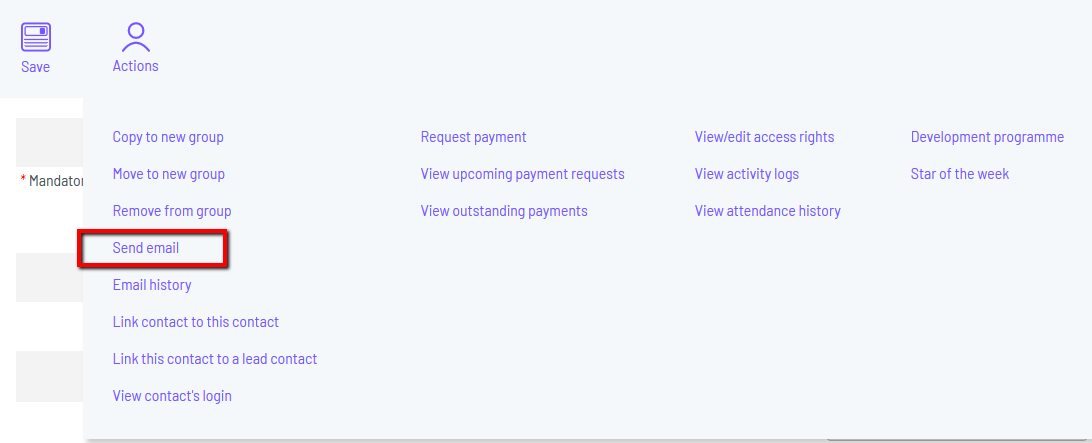
Step 1: Once in the contact’s record, hover over ‘Actions’ and click ‘Send email’.
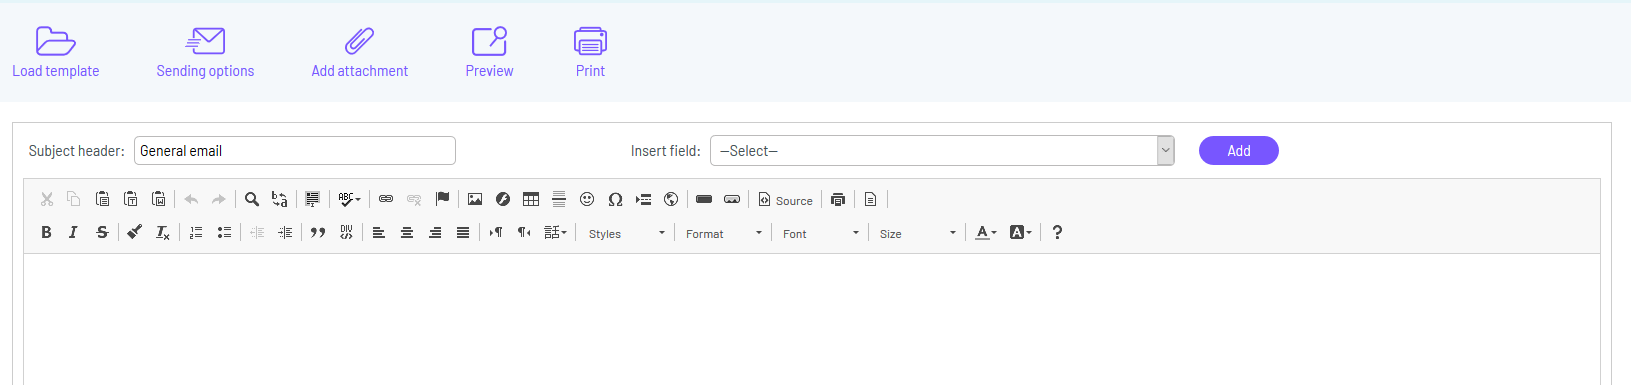
Step 2: You will then be taken to the email creation page. From here, you can write and fully customise your email as well as load a previously created email template if you wish.
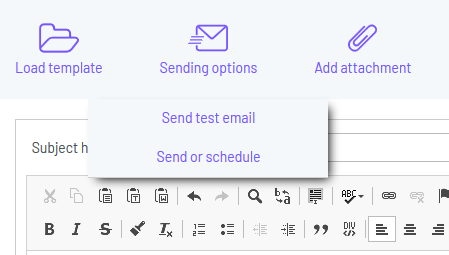
Step 3: Once you are happy with the email you have created or loaded from a template, hover over ‘Sending options’ and click ‘Send or Schedule’.
Step 4: A pop-up will then appear asking you two questions:
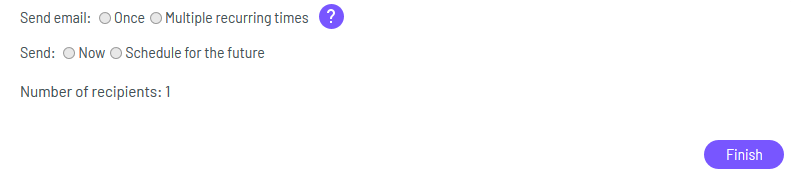
Send email: Here, you can select whether the email will be sent once or on a recurring basis. If you opt to send it recurrently, you will then be asked how frequently it should be sent – Weekly, Monthly, Bi-Annually or Annually.
Send: Here, you can choose whether to send the email ‘Now’ or ‘Schedule for the future’. If you choose to ‘Schedule for the future’ you will be able to select which day and at what time you would like it to be sent.
Step 5: When you are happy with the settings you have selected, click ‘Finish’.
Step 6: A pop-up will then appear saying ‘Your email will be sent now’ – click ‘OK’.
Once you have completed the above steps you will have successfully sent an email to a contact from within their contact record.
Comments
0 comments
Please sign in to leave a comment.